
Multi-Cavity Silicone Mold Layout: How Cavity Count Affects Production Speed
How multi-cavity silicone mold layout affects pour time, demold labor, and scrap - cavity count examples and a decision table for production trays.
 Kyler Yang · Founder7 min read
On this page
More cavities look faster on a quote sheet. On the bench, a crowded tray can slow you down - air traps, tear-outs, and demold paths that fight your hands. This guide covers multi-cavity silicone mold layout the way we actually design production trays at RUUIPON: cavity count, spacing in millimeters, wall thickness, and labor - not maximum density for its own sake.
Numbers below are typical for custom platinum-cure silicone at MOQ 50. High-volume steel confectionery tooling is a different program; we stay on custom / low-MOQ trays that match a real pour station.
The Buyer Problem: Slow 1-Ups vs Crowded Trays
Two failure modes show up in almost every layout review:
- Single-cavity (or 1-2) workflow that never scales - fine for large candles and first samples, painful when you need 200 identical pieces a day and every pour is a separate cycle.
- Max-density trays that tear or trap air - cavities packed 3-5 mm apart so walls are thin, sheets flop, logos suck air, and demold time per piece goes up even though cavity count looks impressive.
Speed is pour time + cure wait + demold labor + scrap rework. Cavity count is only one lever. If you skip layout and jump straight to 24-up, you often remake the whole sheet. Prototype path: custom silicone mold prototype to production.
Layout Variables That Actually Move Cycle Time
When we lay out a multi-cavity silicone mold, these variables get locked before we cut the production tool:
- Cavity spacing - typical edge-to-edge gaps run 8-15 mm for small food pieces (chocolate, wax melts); 12-20 mm for resin coasters and soap bars; 20-35 mm+ for tall or undercut parts that need a hand path to peel. Under ~6 mm between cavities, walls thin out and tear risk climbs fast.
- Wall thickness - production cavities usually 2.5-5 mm. Under 2 mm at mid-firm Shore A tears early on multi-cavity sheets. Over ~6 mm wastes silicone and makes the tray heavy without helping demold.
- Sheet stiffness vs Shore A - dense chocolate/gummy sheets often want Shore A 30-40 so the tray does not flop mid-pour. Soft Shore A 20-25 with 24 cavities can sag under fill weight. Hardness guide: Shore hardness guide.
- Pour direction - plan one long pour path or a left-to-right row order. Cavities that force you to hop around the tray add 30-90 seconds per cycle and raise bubble risk.
- Demold path / hand span - leave finger space to flex a row. If an operator cannot get a thumb between cavities, they yank - and that is how cavities tear after 40-80 pulls.
- Outer frame - a 10-20 mm rim around the tray gives you something to grip without crushing edge cavities.
| Layout variable | Typical range | What breaks if you ignore it |
|---|---|---|
| Cavity spacing (edge to edge) | 8-20 mm (most jobs); 20-35 mm for tall pulls | Thin walls, tear-outs, air traps |
| Wall thickness | 2.5-5 mm | <2 mm tears; overly thick slows flex demold |
| Outer rim | 10-20 mm | No grip; crushed edge cavities |
| Draft on tall walls | 1-3° | Vacuum lock; longer demold |
| Logo depth | 0.3-0.6 mm typical | Air-lock in strokes on dense trays |
Cavity Count Examples by Product Type
These are starting points, not rules. Geometry and undercuts override the table.
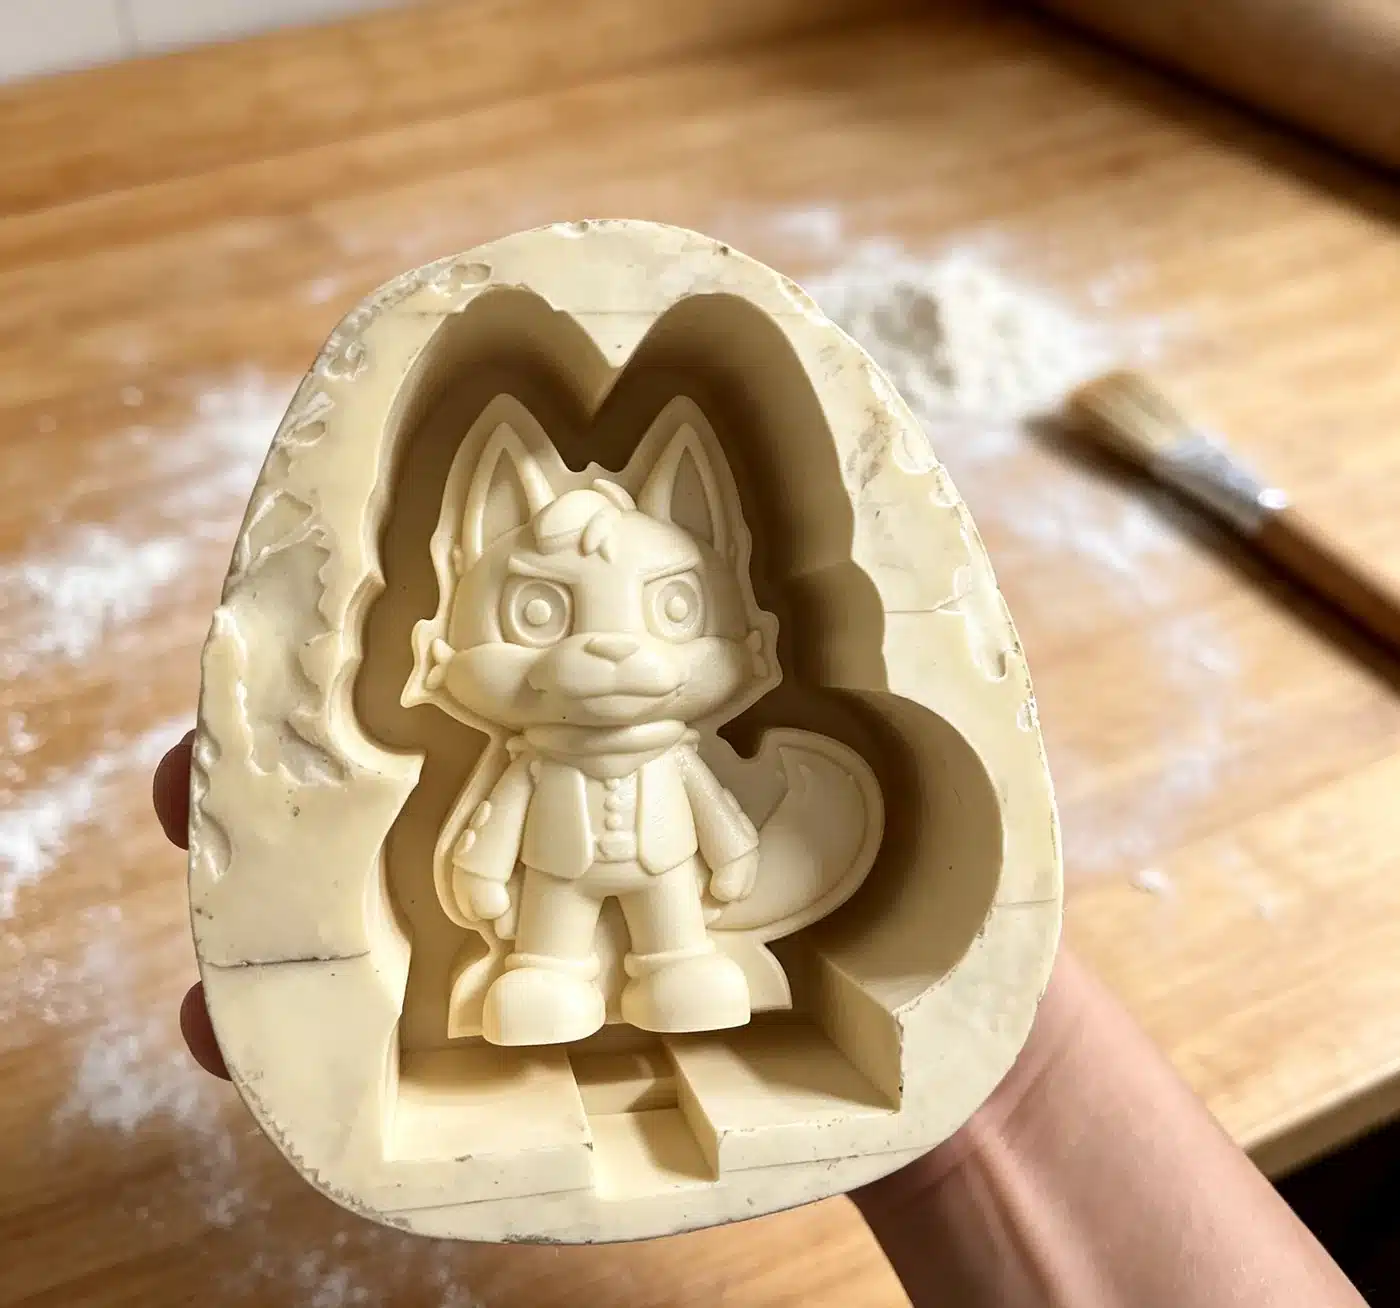
- 1-2 cavities - large candles, deep pillars, complex 3D resin pulls, first prototype samples. Cycle time is per piece; layout focus is draft and wall thickness, not density. See custom candle molds.
- 6-12 cavities - resin coasters, soap bars, mid-size wax melts, branded chocolate bars. Sweet spot for most small brands: one tray fills a shelf unit without becoming a floppy sheet. See custom resin molds and soap molds.
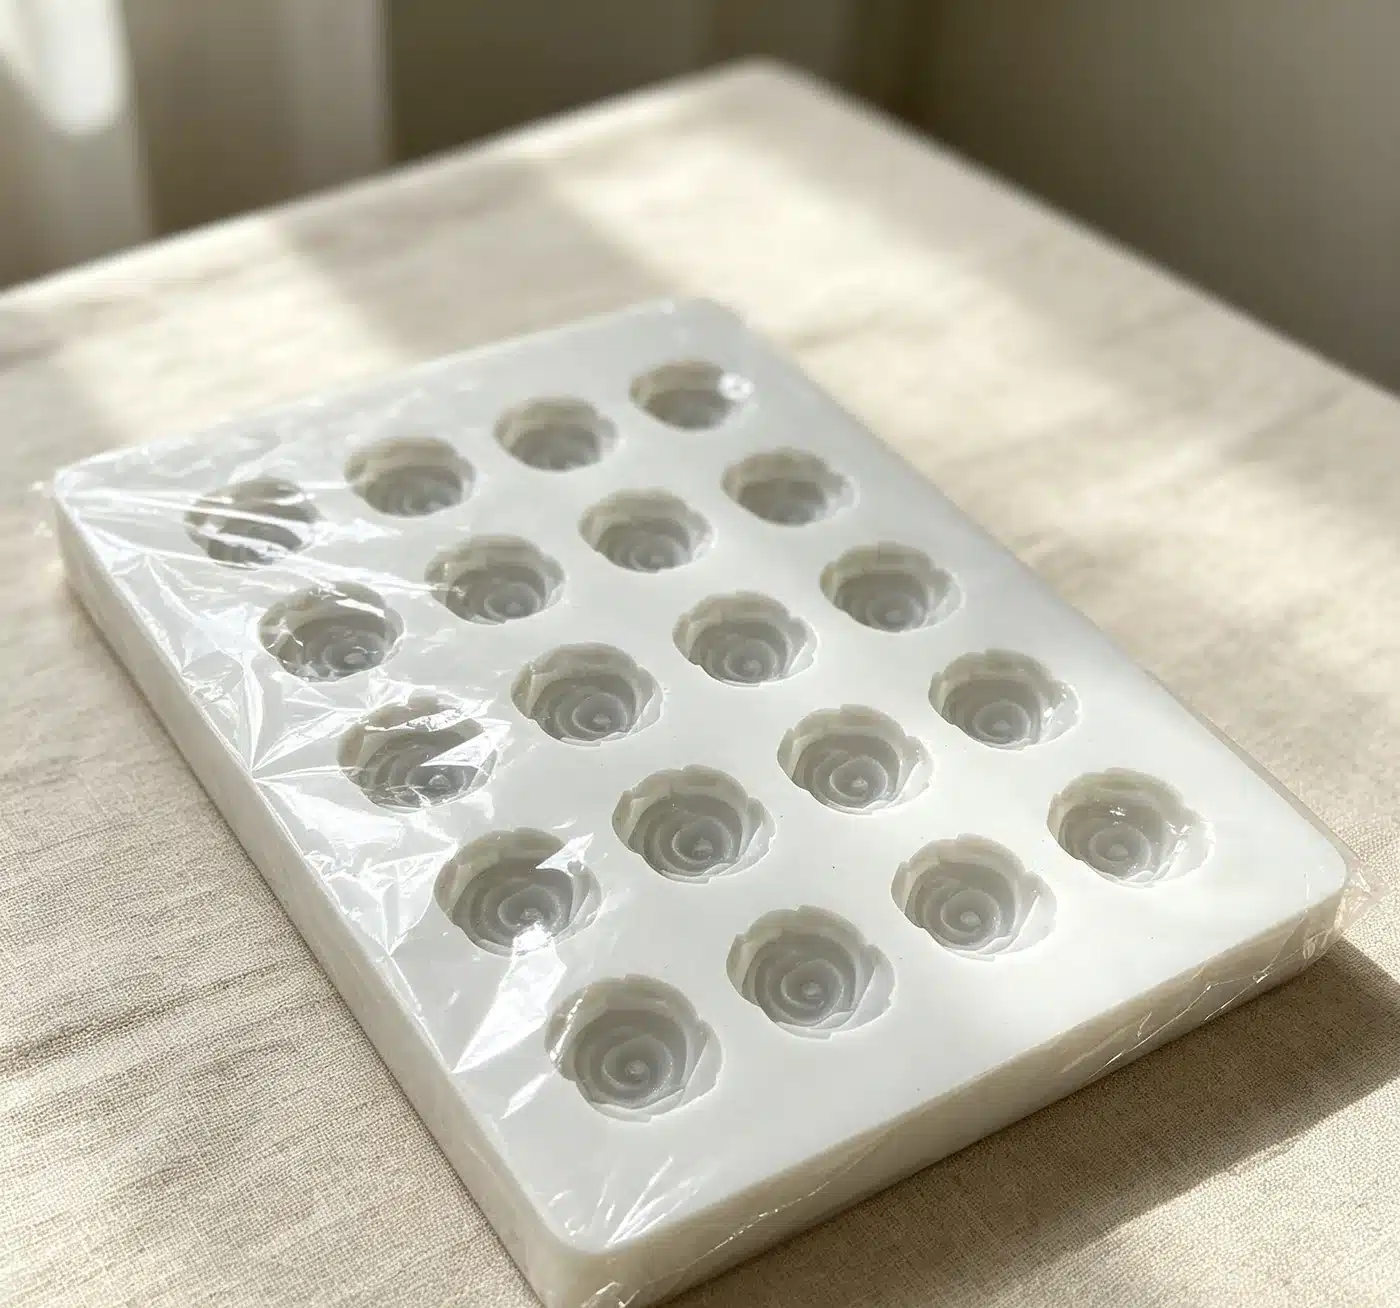
- 12-24 cavities - chocolate bites, wax melts, smaller gummy/candy shapes. Works when pieces are shallow, spacing stays ≥8-12 mm, and Shore A keeps the sheet flat. See custom chocolate molds and gummy molds.
- 24+ sheet layouts - makes sense when daily output is high, pieces are small and shallow, and you have room to demold by flexing rows. Do not start here on an untested undercut. Approve geometry on 1-6 up first, then scale.
| Cavity range | Typical products | Spacing note | Labor note |
|---|---|---|---|
| 1-2 | Large candles, deep 3D resin | Wide margins; thick walls 3-5 mm | Per-piece demold; slow but safe |
| 6-12 | Resin coasters, soap, mid melts | 12-20 mm between cavities | One operator, one tray per cycle |
| 12-24 | Chocolate, wax melts, small candy | 8-15 mm; keep rim ≥10 mm | Row demold; watch flop if Shore A soft |
| 24+ | High-volume shallow food sheets | ≥8 mm; firm sheet (Shore A ~30-40) | Only after sample approval |

Decision Table: Daily Output → Cavities → Labor
Pick cavity count from throughput, not from what looks impressive in a product photo.
| Daily output target | Recommended cavities / tray | Trays in rotation (typical) | Labor notes |
|---|---|---|---|
| <50 pcs / day | 1-6 | 1-2 | One person; prioritize clean demold over density |
| 50-150 pcs / day | 6-12 | 2-4 | Overlap cure while next tray pours |
| 150-400 pcs / day | 12-24 | 3-6 | Row demold; standardize pour path |
| 400+ pcs / day | 24+ or multiple 12-24 trays | 6+ | Layout must match bench; scrap kills speed |
Lead times at RUUIPON (typical): prototype mold 3-7 days after CAD sign-off; production tray after approval 2-4 weeks depending on cavity density and grade. Cost drivers (cavity count, Shore A, food grade): custom silicone mold cost guide.
Layout Mistakes That Kill Production Speed
- Max density on day one - ordering 24-up before a sample pour. Remaking a dense sheet costs more than starting 1-6 up and scaling layout.
- Ignoring hand span / demold path - cavities packed so tight that operators peel one piece at a time with fingernails. Plan for thumb-width flex between rows.
- Mixing sizes on one tray - a large bar next to four tiny melts looks clever; pour and demold times diverge and scrap concentrates on the odd cavity.
- Walls under 2.5 mm to squeeze one more cavity - that extra cavity is not free when the wall tears at pull 60.
- Soft Shore A on a flopping 24-cavity sheet - fill weight bows the tray; cavities go out of level; chocolate thickness varies.
- No pour direction - random fill order traps air in the last cavities of every cycle.
- Copying a stock marketplace layout - those trays ignore your station width, cure rack, and whether you pour left-handed. Custom exists to match the bench.
Custom vs Stock Layouts
Stock trays ignore your pour station. Custom matches bench workflow at MOQ 50.
| Factor | Stock marketplace tray | Custom layout (RUUIPON) |
|---|---|---|
| Cavity spacing | Fixed; often max-packed | Set to your demold path (mm) |
| Cavity count | Whatever the seller shipped | Matched to daily output |
| Wall thickness | Unknown / thin | Specified 2.5-5 mm |
| Mix of sizes | Common gimmick | One size per tray unless you ask |
| Shore A | Mystery batch | Locked at sample |
| MOQ | 1 tray | From 50 pieces per design |
| Lead time | Ship now | Prototype 3-7 days; production 2-4 weeks |
| Best for | Learning, generic shapes | Branded SKUs, repeat production |
Browse categories once material is clear: resin, candle, chocolate, soap, gummy, or the full products index.
Frequently Asked Questions
What is a good multi-cavity silicone mold layout for a small brand?
Most first production trays land at 6-12 cavities with 12-20 mm spacing and 2.5-5 mm walls. Scale to 12-24 only after a clean sample demold.
Does more cavities always mean faster production?
No. Past the point where demold slows or scrap rises, extra cavities reduce pieces per hour. Throughput includes labor and rework.
How much space between silicone mold cavities?
Plan roughly 8-15 mm for small shallow food pieces and 12-20 mm for resin/soap. Tall or undercut parts need more. Under ~6 mm is where tear risk spikes.
Should I start with a 24-cavity tray?
Not for a new geometry. Approve on 1-6 cavities, then cut the production layout. Process: prototype to production.
What is the MOQ for a custom layout?
RUUIPON production runs start at MOQ 50 molded pieces per design.
How long does a production tray take?
Prototype typically 3-7 days after CAD approval; production after sample sign-off typically 2-4 weeks.
Send your CAD/STL, casting material, daily output target, and preferred cavity count to Contact RUUIPON - email [email protected] or WhatsApp +86 135 3006 2969. We will recommend a layout before you lock a dense sheet.
Ready to order custom silicone molds?
Free quote for OEM/ODM projects. MOQ 20 · Prototype 3-7 days · FDA/LFGB available.